Spring 2021
Commissioning can be a long process, and in my limited experience, time spent in commissioning pays off down the road. So what's involved, you might wonder? I'd say it breaks down into two parts; Completing the build, followed by testing and perfecting all the systems.
Completing the Build
Not everything gets done or finished at the shipyard. Some parts just don't make sense to ship to Asia so someone can install it and ship it back again. And for other things the experts are here, not there. Let's go through some examples.
Electronics: The electronics system was all designed in advance, and large portions of the equipment were shipped to the yard for at least partial installation. Physically installing components is very effectively done at the yard, especially bulky items like radar scanners. It's also beneficial to pull all the wiring cables while the boat is being built. And quite a number of devices need to be cut into dash and overhead panels, all of which is best done by the yard staff. In our case I had them install 90% of the equipment, pull 90% of the wiring cables, and make perhaps 50% of the final wiring connections. The remaining parts I figured were easier to do once on the boat vs providing detailed instructions. Plus there were parts that I really hadn't fully figured out yet. This worked well, and I hired a friend who is an electronics installer to come help me for a week to 10 days to get everything hooked up and working. He came out right after Christmas and we worked through New Years and got all the primary navigation equipment working. It left me with a few things to still do, including most of the system monitoring stuff, but all the critical systems were done, and actually done before the salon repair work even started.
By way of example, the mast comes uninstalled and has to be lifted in place, secured, and light wires connected up. The mast was pre-planned for all the instruments, but everything still needed to be installed and wires pulled.
 |
| Installing mast and associated equipment |
Here we are later with all the top-side gear installed, antennas installed, and ready to go except for the satellite dome.
 |
| Top side instruments and antennas all installed |
The boat was built and shipped with two 8D AGM batteries in place of the LFP house battery bank. The yard installed the BMSes (blue boxes in the foreground), but I brought the batteries themselves, and they needed to be installed. You can just see one of the temporary AGMs in the compartment below the four black inverters.
 |
| Temporary AGM batteries awaiting replacement with LFP |
Here is the finished battery installation of six 24V, 280Ah LFP batteries from MG Energy.
 |
| Finished LFP battery installation with inverters above. |
I bought the tender ahead of time, but it needed to be located on the fore deck, measurements taken, and chocks fabricated. Then a sling needed to be fabricated.
 |
| Tender in custom chocks |
Life rafts need to be installed
 |
| Life raft installed |
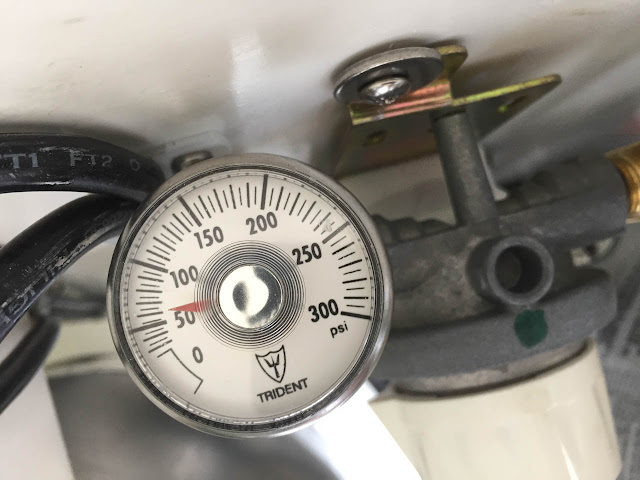
The propane system required final hookup, but turned into a much bigger project. Given the hose/pipe run lengths, the hoses needed to be larger than typical 3/8" propane hose to deliver the required BTUs to the grill and stove. I had provided info on 1/2" Parker propane hose that would do the job, but the yard asked to use 3/4" copper tubing. It was overkill, but would work so I said yes. Unfortunately, the yard terminated the tubing in compartments adjacent to the various hookup point, not in the actual hookup location. ABYC and other standards only permit propane joints at the appliances, in the same location as the alarm sniffer. Intermediate joints are prohibited. So here we were with this lovely copper tubing 1'-2' short of where we needed it at both ends. There was no choice but to remove the copper (or as much as we could access) and replace it with the originally specified Parker hose. We were dreading the project, but it ended up being a lot easier than we feared, and we only had to abandon one stretch of about 8' of the old tubing.
 |
| Propane system |
One of Laurie's splurges was nice stainless lettering for the boat name. It really came out well.
 |
| Stainless boat lettering |
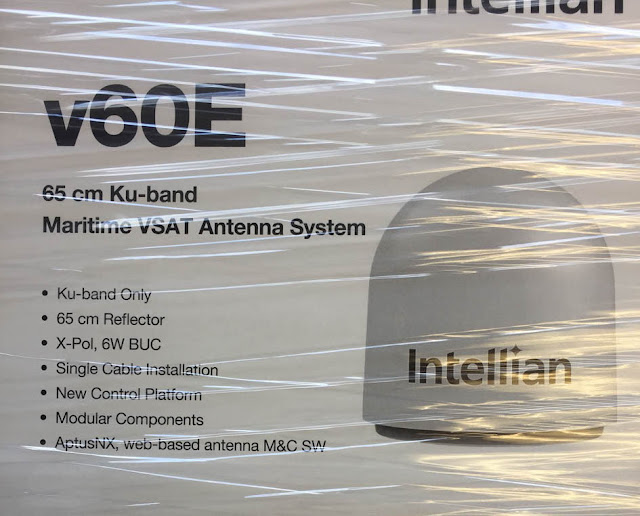
In addition to the navigation electronics there are a variety of communications and entertainment electronics that need to be installed. This is the satellite data communications dome. Also installed were cellular transceivers, TV, Apple TV, and sound system.
 |
| Satellite data system |
The yard had pre-wired for solar panels, but I brought the actual panels with me, along with mounts that I had fabricated in advance.
 |
| Solar panels |
Then there is carpeting that needs to be templated, purchased, cut, bound, and fit, along with carpet pads. Also shades that need to be custom sized, ordered, and installed, along with any necessary wiring. Then there is furniture, mattresses, lamps, etc, etc.
As you can probably see, there is still a lot to do after the boat arrives. It's not at all like hopping in a new car and driving away. And this is just the stuff that we knew in advance still needed to be done. The other part of commissioning is testing everything, finding what's not working correctly, and fixing it. But we will save that for another post.


